
If you are working with Windows 10, you will probably get this message at one point. The DPC Watchdog Violation Error occurs in Windows 8.1 and Windows 8 too. This infamous blue screen of death error comes with a moving notification and restarts your computer in 5 seconds. It is admittedly, a rare issue but when the frequency increases, it becomes a real problem.
What is DPC Watchdog Violation Error?

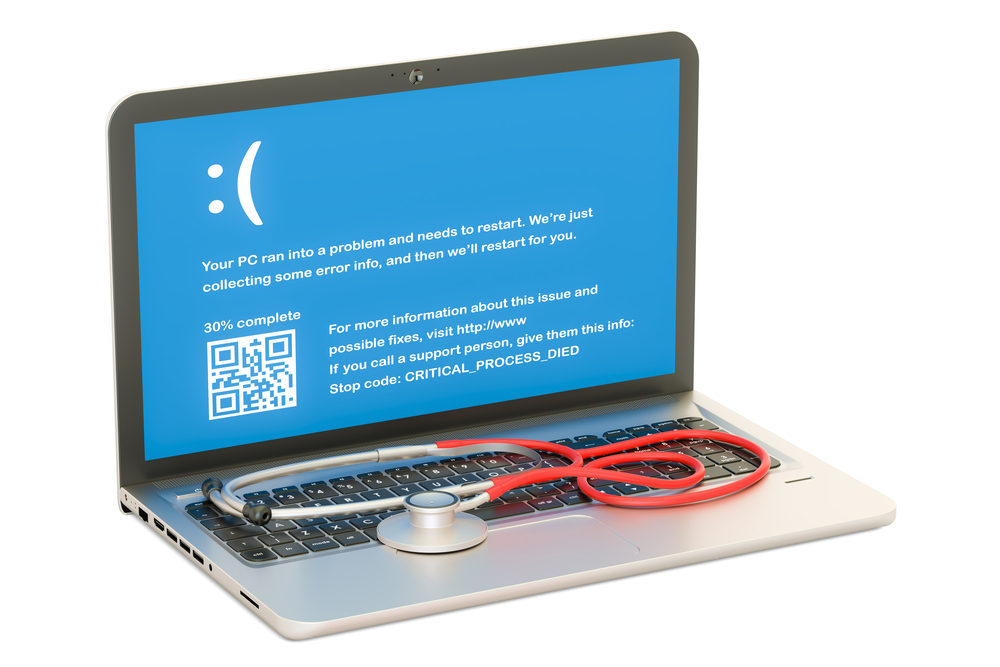
The DPC watchdog violation is the infamous occurrence; error code: DPC_Watchdog_Violation on your screen that disrupts all your work. Dealing with the blue screen of death and a 0x00000133 Bug Check Code can be extremely frustrating. Most regular users get upset because they cannot resolve it and will have to wait for a reboot every time. This means you will be losing all your unsaved data every time and go through the agony of restarting your work.
The causes range from unsupported SSD firmware to old driver models, and several incompatibility problems. Damaged system files also contribute to more occurrences of this message. Understanding the error code is important or you will continue in your agony. What you should know is that the error code is supposed to fix the issue.
The Bug Checker is designed to help monitor all Windows processes and background performances. The message appearance means it has taken longer than usual (say 100 microseconds) to complete. If there will be no response within this period, you will receive the error a 0x00000133 on your screen. This is the frustrating part because it means you will have to wait for the automated reboot. Ensure that the firmware versions of the SSD you use on your Windows computer are current or you will trigger the error codes.
The Reasons Behind the DPC Watchdog Violation Error
Whenever you have hardware that is incompatible with your PC or laptop, you are bound to get that infamous Blue screen. It is popularly known as the BSOD (Blue Screen of Death). DPC watchdog violation is mostly a result of attempting to connect incompatible hardware like an AMD or NVIDIA graphics card. Perhaps the most common cause of the BSOD destructive pop-up screen is using an external drive. The simple explanation is that the device is not supported by your OS and you will have to deal with the pop-up. The confusing thing is that it may not appear immediately or the first time you use the new device. Instead, it may occur 2 months later after using it on frequent occasions.
Hardware conflicts are not the only causes of your PC’s crushing. Software applications are also a major problem. Some software applications are equally problematic because the versions are incompatible with the previously installed software. Software present colliding with your new installation is a common problem and it may delay too. This means you may not experience the problem after completing the installation or launching the application for the first time. Software collision is, therefore, a major cause for DPC watchdog violation.
Drivers and Updates
Whenever the system needs to update all the hardware drivers, you are also likely to experience the error message. This is because the updates will identify all possible incompatibilities and attempt to resolve them.
Files that are not supported presently in your drive are another likely cause for your crushing pop-ups. These unsupported files may not be the type your Windows 10 is built to accommodate.
The complexity of the error message is that it may not be consistent. It may occur randomly or immediately after the introduction of unsupported entities. When they occur randomly, you may seriously be inconvenienced as you lose critically important work. It is of the essence, therefore, to learn how to fix the problem after you experience it the first time. After learning about the possible reasons for its occurrence, it is time to explore the various methods used to resolve a DPC watchdog violation.
Methods of Resolving DPC Watchdog Violation Error
Luckily, we have some possible fixes associated with the error. Many users are always seeking solutions to the death screen once and for all. You are not alone in this. It is the reason we have compiled a version to help. Follow the guidelines to fix this problem permanently.
These are some of the most common and workable solutions to DPC watchdog violation occurrence
#1. Change SATA AHCI Controller
If the error message is a result of the introduction of a storage device and memory, changing the SATA AHCI controller is the most appropriate solution. This is the best way of dealing with the situation. The driver responsible for data exchanges between the storage device and memory is the SATA HCI controller. It acts by assessing and verifying whether the data compatibility is consistent with the output. This is the core of your pop-ups. Solving the violation error can be instantly effective if you change this accessory.
Here are the steps:
- Hold down the Windows Key and press X on your keyboard

- From the menu appearing; Select ‘Device Manager’ then select IDE ATA/ATAPI controllers’ from the options available

- To open the drop-down menu, click once on the controller option. Right click on the ‘SATA AHCI controller’ option as displayed on the diagram.

- Select ‘Properties’ from the resulting menu appearing. To ensure you have chosen the correct driver, check for iaStorA.sys on that driver list before you click OK

- Select the ‘Driver’ option then ‘Update Driver’ to initiate the process. This is will avail the options for updating the drivers. If you have the drivers in your hard drive, you can select the drive option or ‘Browse my computer for driver software’ option if you need to browse the Internet. This is the recommended options because it is automated
- You will select ‘SATA AHCI Standard Controller’ and select ‘Next.’ To specify what you need downloaded

- Follow the onscreen procedure instructions until the process is complete.
- Reboot your system. It is important to repeat this procedure as often as possible to take advantage of updates especially whenever there is a Windows update to avoid the error recurring.
#2. Turn Off Fast Startup
You can easily avoid DPC watchdog violation errors by Turn off the fast startup. It’s an easy process, just follow these steps:
- Go to the Start Menu and open the “Control Panel”
- Here you will find the “Power Options” Click on it

- On the left top corner Click on “Choose what the power button does”

- Click on the option “ Change Settings that are currently unavailable”

- Here you will find the option “Turn on fast start-up (recommended)”, uncheck that option and click “Save changes”.

- Exist and Restart your computer to effect the changes.
#3. Run Event Viewer
Running the Event Viewer is a solid solution to DPC watchdog violation. It helps you identify the problem causing the Blue screen of death. This means you will be dealing with the precise issue in your PC without having to guess. It will save you the time and frustration of being without knowledge of what to solve. Here are the steps
- Hold down the Windows Key and Press ‘R’ to launch the Run tool Enter ’eventvwr.msc’ into the Run box and click ‘OK’ to open the Event Viewer.

- You will find ‘Windows Logs’ from the menu on the left side of the window after launching. Select the ‘System’ option

- You will be able to view the logs that have ‘Error’ or ‘Warning’. They will appear in the center section. Selecting them reveals more information about the violation error.

This is the most efficient way to improve accuracy in dealing with the issue. Find out the appropriate troubleshooting method to rectify the error.
#4. Updating Drivers
Introducing old firmware to your Windows 10 causes DPC watchdog violation. It means that updating the drivers will form the compatibility you need from the Solid State Drive. This is also a great alternative to rid of your crushing episodes. Here are the steps
- To start; hold down the Windows key and press E on your Keyboard. This will launch File Explorer. You may also click on the icon on your desktop labeled ‘This PC’ to launch it
- Open ‘This PC’ on the left side of the window to view the hard drive options. Right-click on this icon for a drop-down menu. Select the ‘Manage’ option to open the window you need.

- A pop-up window will appear. Select the ‘Device Manager’ option from the left menu

- In the menu that opens under ‘Device Manager’, select the SSD (the same way you previously did for the SATA drive in the previous method). Write down the essential details of the Solid State Drive such as its model number. You may also check the manufacturer’s website to download any available updates necessary for the SSD.
#5. Checking the Disk
Scan your disk to separate corrupt files that may be causing problems with compatibility. Checking your PC for corrupt files is a simple process that requires the following command prompt instructions.
Open the Command Prompt and enter: CHKDSK C: /F /R then press ‘Enter’. Your PC will prompt you to restart your computer or schedule a convenient time to restart. After you make the appropriate selection, press ‘Enter’ again to initiate it.

The process may take quite some time to complete so you will have to be patient. If it is the first time you do this, you might have to wait longer. You will make several reboots before completing the process of assessment and identification of corrupted files.